Setting up a new system

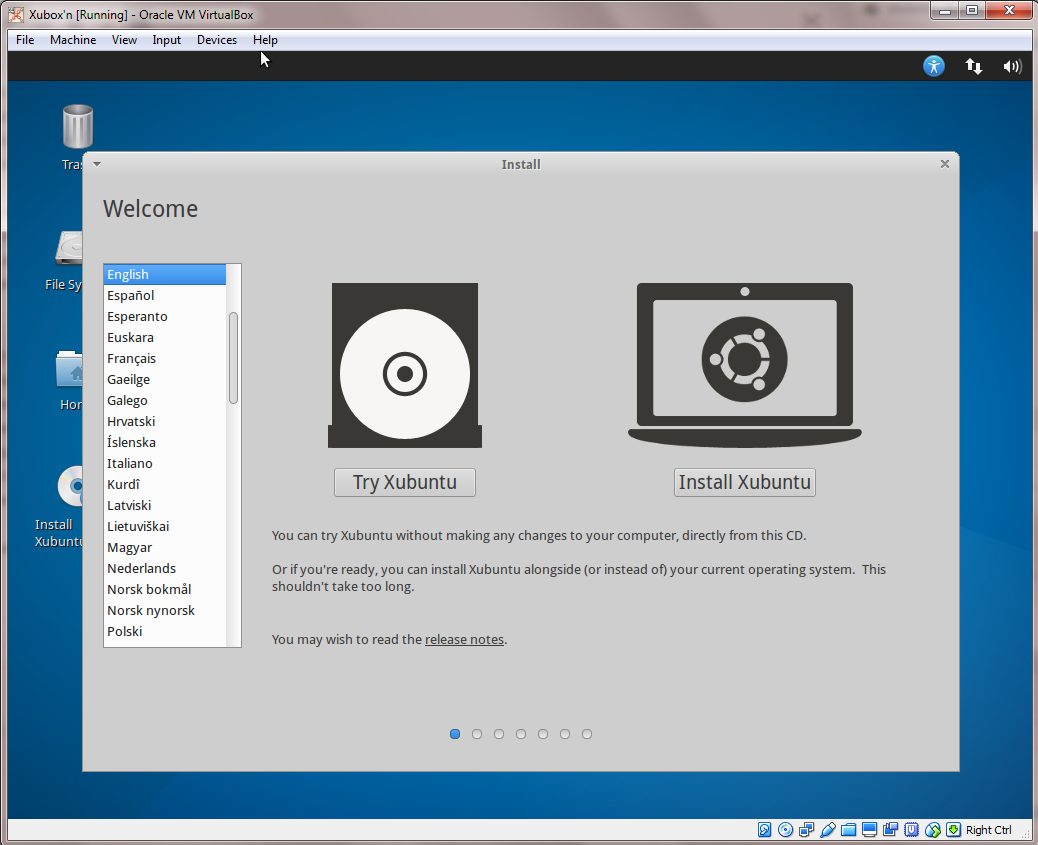
First steps on the new system

My keyboard backlighting does not work by default on Xubuntu, so following the excellent advice over at The Drunken Sloth Inn and a quick keyboard binding that gets that frustration out of the way.

Next up is creating a quick link to the Terminal seeing as most of my work gets done there. This is a simple matter of navigating to the main menu (mouse icon in top left by default), finding the Terminal Emulator and right-clicking on it and selecting Add to Panel. I also do not like the default placement, so I right click on it and select Move to place it somewhere more comfortable.

The next step (if you are inside a VirtualBox VM) is to install the Guest Additions. Using the VirtualBox menu under Devices you can select Insert Guest Additions CD. This will auto-mount and then you can run the bundled script  as follows, using the terminal navigate to the CD, which should be in /media/<username>/VBOXADDITIONS_<version_number>/. Then you can run the script as follows:

sudo sh ./VBoxLinuxAdditions.run

Finally we need to add our user account to the virtualbox user group to allow them access to shared drives etc.

sudo usermod -a -G vboxsf <my-user-id>


Now reboot the machine and you can resize and share clipboards without hassle.

Installing our tools

To make setup of new machines easier I currently store my dotfiles (application/user specific settings) in my Dropbox account, and link them to my VM home directory – although I am considering moving them across to somewhere like github and creating a less intensive process for deployment to a new machine, but for now the process is basically as follows.

  1. Install tool using apt-get
  2. Link existing setup file from Dropbox to home folder
  3. Repeat from 1 until no more tools needed.

I use git for source code management, tmux as my screen replacement, zsh as a shell and vim as my editor of choice. I also tend to program in python, and am experimenting with ipython notebooks at the moment, so we’ll install these now.

sudo apt-get install git gitk zsh vim tmux
sudo apt-get install ipython3-qtconsole ipython3-notebook
sudo apt-get install ipython-qtconsole ipython-notebook

Now I’ll link the pre-made dot files from my Dropbox directory.

ln -s /path/to/gitconfig .gitconfig
ln -s /path/to/oh-my-zsh-dir .oh-my-zsh
ln -s /path/to/zshrc .zshrc
ln -s /path/to/vimdir .vim
ln -s /path/to/vimrc .vimrc
ln -s /path/to/tmux.conf .tmux.conf

Change my default shell

chsh -s /bin/zsh


Finally, set my terminal colours to the excellent Solarised (dark) colour scheme and we are good to go.


Installing Xubuntu 15.04 in VirtualBox

My personal machine is Windows, but as an aid to development and to keep my Linux skills practised I run a variety of Linux variants as virtual machines within VirtualBox. I have used VirtualBox for a while now with no problems, although on systems running inside it I tend to focus mostly on command line and simple (low resource requirement) tasks.

Because of this focus I have consistently come back to Xubuntu as my OS of choice. It has a simple but consequentially clean GUI. It has low requirements for RAM and graphics card capabilities, and it allows me to focus on my task at hand. It has been a while since I have done a major upgrade, and I thought I would give the latest version (15.04 at time of writing) a spin and install it on a new VirtualBox machine.

Once the image is downloaded, I set up a new VM within VirtualBox. If you have never used VirtualBox before, it is fairly simple to use, and I highly recommend it as a simple way of trying out a new OS. The manual is fairly easy to read, and LifeHacker have an old, but still relevant article about installing and setting up a virtual machine. Most settings I leave at defaults, however I do like to bump the Base Memory up quite a bit as I have a reasonable system and it doesn’t help to cripple the guest system too much. Once the VM is set up, and the disk image (iso) for Xubuntu is loaded into the VM’s disk drive, we are ready to start.

30 seconds later we are booted into the Live CD, and given the option of giving Xubuntu a test drive, or diving straight into the install, which I will do.Capture1


First the installer checks that the amount of free disk space is suitable, and that there is a network connection. There is also the option to download updates during the installation, which I will do as they will need to be downloaded at some point anyway. There is also the choice to use third party software, some of which may be proprietary. Next screen allows you to choose the partition setup that you would like to use. As I have a dedicated Virtual Disk for Xubuntu, I’ll go ahead and select the first option. Partitioning is beyond the scope for this post – but if you are installing Xubuntu alongside another OS on bare metal then I would recommend reading up on the options and taking care to backup your original system before resizing and modifying existing partitions.

Capture2


A simple selection of location and keyboard type follows. After these comes a screen to choose the first (admin) user with password and computer name.Capture

Now it is a simple matter of waiting for the install to complete, if selected updates to software will be downloaded during the install. The whole process will vary in terms of length. On my system half an hour was plenty of time from start to finish. It will end with a prompt to reboot.

On my system here is where we hit a rough patch. The VM drops back to a black screen. All indications are that it has hung during reboot, so using VirtualBox I’ll send a manual reboot and see how that goes.Capture3


And success!! We are back and running. Logged in successfully.

Capture4

Stay tuned for the next post where we do initial setup of a bunch of tools that I use regularly.